Nonostante il Samsung Galaxy S, non sia ancora sul mercato, gli sviluppatori sono già riusciti ad ottenere i diritti di root. Di seguito vi elenchiamo la procedura da seguire, ovviamente non ci assumiamo alcuna responsabilità sulle possibile conseguenza che ciò potrebbe comportare (perdita della garanzia, ecc.).
I ragazzi di XDA-Developers hanno da poco rilasciato un’ interessante guida in cui viene spiegata la procedura per l’ installazione di Google Maps 4, rilasciato da pochissimo. La guida consente di installare la nuova versione dell’ applicazione, mantenendo Google Maps Navigator e garantendo l’ integrazione con l’ ultimo arrivato in casa Google, Google Buzz.
La procedura è valida solo per Android 1.6 o successivi, disponibile sia per le versione root che non root.
Superboot is a boot.img that when flashed, will root your device the first time you boot (installing su and the superuser APK). No need to flash the system partition, no need to use ADB, no messing with the contents of your data partition, no overwriting the shipped ROM on your device, just flash the boot image using the instructions below and you’re done!
APPLY THIS AT YOUR OWN RISK!
Superboot – download
Insecure boot (this allows you to manually deploy su and superuser.apk, it makes no changes to your system): download
How to use Superboot – Windows, Linux and OSX
– Download the Superboot zip file above and extract to a directory
– Put your device in bootloader mode – turn if off, remove battery, plug in USB cable, when battery icon appears onscreen, replace battery then tap the powerbutton while holding the Camera key
– WINDOWS – double click ‘install-superboot-windows.bat’
– MAC – Open a terminal window to the directory containing the files, and type ‘chmod +x install-superboot-mac.sh’ followed by ‘./install-superboot-mac.sh’
– LINUX – Open a terminal window to the directory containing the files, and type ‘chmod +x install-superboot-linux.sh’ followed by ‘./install-superboot-linux.sh’
Sembrerebbe incredibile ma nonostante il Nexus One non sia ancora in commercio, sono già riusciti ad effettuare il Root. Si tratterebbe di un file immagine boot.img che una volta caricato effettuerà il root del Nexus One al prossimo riavvio. A riportare la guida è stato l’ attivissimo forum di android.modaco.com, di seguito abbiamo riportato la semplice procedura da eseguire (inglese):
Tempo fa vi avevamo parlato del Nook, un eBook reader dotato di doppio schermo e sistema operativo Android. Lo schermo secondario, nonostante le potenzialità del sistema operativo sarebbe destinato solo
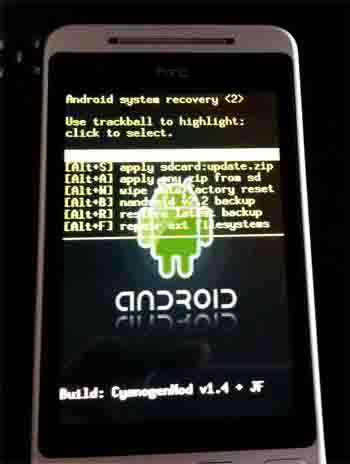
Procedura già testa sul mio HTC HERO , funziona perfettamente .
Non ci riteniamo responsabile se il vostro terminale si blocca.
Vi ricordo che questa non è una procedura ufficiale , potreste perdere la garanzia.
Guida completa per utenti MAC e Windows .
Scaricate la SDK (Link) e decomprimere in C:
Scaricate la recovery modificata da: (Link), decomprimete e iserite il contenuto nella cartella tools di SDK
Per fornire le migliori esperienze, utilizziamo tecnologie come i cookie per memorizzare e/o accedere alle informazioni del dispositivo. Il consenso a queste tecnologie ci permetterà di elaborare dati come il comportamento di navigazione o ID unici su questo sito. Non acconsentire o ritirare il consenso può influire negativamente su alcune caratteristiche e funzioni.
Funzionale
Always active
L'archiviazione tecnica o l'accesso sono strettamente necessari al fine legittimo di consentire l'uso di un servizio specifico esplicitamente richiesto dall'abbonato o dall'utente, o al solo scopo di effettuare la trasmissione di una comunicazione su una rete di comunicazione elettronica.
Preferenze
L'archiviazione tecnica o l'accesso sono necessari per lo scopo legittimo di memorizzare le preferenze che non sono richieste dall'abbonato o dall'utente.
Statistiche
L'archiviazione tecnica o l'accesso che viene utilizzato esclusivamente per scopi statistici.L'archiviazione tecnica o l'accesso che viene utilizzato esclusivamente per scopi statistici anonimi. Senza un mandato di comparizione, una conformità volontaria da parte del vostro Fornitore di Servizi Internet, o ulteriori registrazioni da parte di terzi, le informazioni memorizzate o recuperate per questo scopo da sole non possono di solito essere utilizzate per l'identificazione.
Marketing
L'archiviazione tecnica o l'accesso sono necessari per creare profili di utenti per inviare pubblicità, o per tracciare l'utente su un sito web o su diversi siti web per scopi di marketing simili.

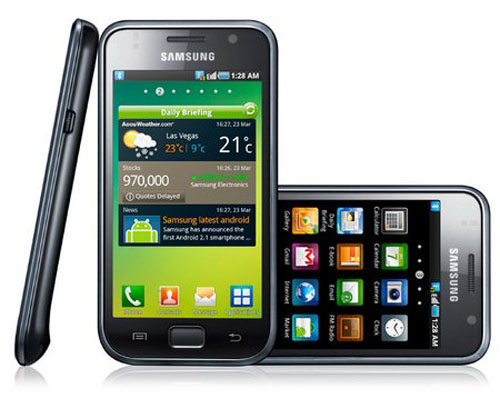 Nonostante il Samsung Galaxy S, non sia ancora sul mercato, gli sviluppatori sono già riusciti ad ottenere i diritti di root. Di seguito vi elenchiamo la procedura da seguire, ovviamente non ci assumiamo alcuna responsabilità sulle possibile conseguenza che ciò potrebbe comportare (perdita della garanzia, ecc.).
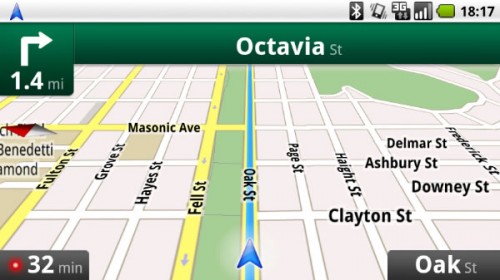 I ragazzi di XDA-Developers hanno da poco rilasciato un’ interessante guida in cui viene spiegata la procedura per l’ installazione di Google Maps 4, rilasciato da pochissimo. La guida consente di installare la nuova versione dell’ applicazione, mantenendo Google Maps Navigator e garantendo l’ integrazione con l’ ultimo arrivato in casa Google, Google Buzz.