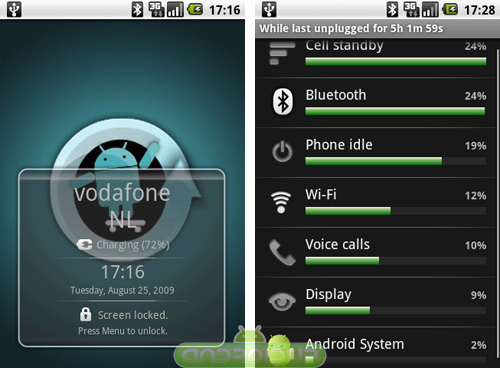
Categoria: ROM – Voto: 9/10
Costo: Gratis
È stata rilasciata da qualche giorno la nuovissima versione della ROM Cyanogen, si tratta della versione 4.2.7.1 ed è compatibile sia con HTC Dream che con HTC Magic 32B (Vodafone).
Ecco le novità della nuova versione:
- UNIVERSAL! Runs on both Dream and Magic 32B
- Based on Android 1.6, many bugfixes and enhancements from AOSP, XDA, and me
- Highly optimized kernel with many extra modules
- Enhanced ramdisk which uses optimal mount options and smart startup
- Includes E2FSProgs for checking and converting Ext filesystems
- Apps2SD is automatic! All you need is a second partition (ext).
- Launcher with 5 screens and auto-orientation and compact drawer layout
- Clean filesystem shutdown at poweroff/reboot, and fsck at boot (no FS corruption!)
- Includes T-Mobile IM application, Amazon MP3 store, and Work Email (MS Exchange support)
- Does not require “DangerSPL”
- Includes a massive APN list
- Maximum CPU scaling frequency set to 528MHz with latency tweaks
- Various enhancements to the Settings app including extra partition space
- Phone app enhancements by cytown
- Loccy’s “BetterBrowser”
- MMS enhancements from rgv151
- FLAC audio support thanks to kroot
- Bluetooth OBEX support from Erin Yueh
- USB tethering support (kernel code ported by Zinx)
- Commandline extras: powertop, htop, nano, busybox, openvpn
- Ability to lock home app in memory (control in Spare Parts app)
- (v4.2.7.1 – stable version, updated 12/02):
Ecco i link per effettuare il Download:
- Download: http://n0rp.chemlab.org/android/upda…7.1-signed.zip
- Mirror 1: http://cyanogen-updater.googlecode.c…7.1-signed.zip
-
MD5Sum: 8b7c4cba41f2bf620e4b2d8250dfe60e
Effettuare l’aggiornamento alla versione 4.2.7.1 è piuttosto semplice. Per chi ha già caricato la ROM 4.1.99 o superiori, può seguire questi semplici passaggi:
- Effettuare il Download della ROM e posizionarla nella Root della micoSD.
- Avviare in Recovery Mode, tenendo premuto il pulsante Home + Power
- Scegliere la voce “Apply any zip from sd”.
- Selezioniamo la ROM Cyanogen che abbiamo precedentemente inserito nella root della microSD.
- Seguire le istruzioni che appaiono sullo schermo.
È ance possibile scaricare dall’ Android Market, l’applicazione appositamente sviluppata da Cyanogen per effettuare l’aggiornamento automatico, ecco il post dedicato
Qualora il telefono rimanesse bloccato nella schermata di avvio, dobbiamo:
- Tenere premuto il tasto Power per 10 secondi. Se riusciamo a visualizzare il menu, chiudiamolo e facciamo partire il telefono normalmente.
- Se questo non succede, spegniamo il telefono rimuovendo la batteria ed avviamolo in Recovery Mode (Home + Power).
- Selezioniamo “Nandroid Backup”
- Scegliamo “Restore Backup”
- Riavviamo il telefono.
[Via]
